I will begin my second posting of the Carole renovation by diving into the ins and outs of painting the interior of our RV. When I set out to plan this project, I wasn’t even sure it was possible given the multiple surfaces inside an RV, the fact it is mobile, subject to temperature extremes, humidity, the very high traffic of the space, etc.
The challenges our RV faced specifically were:
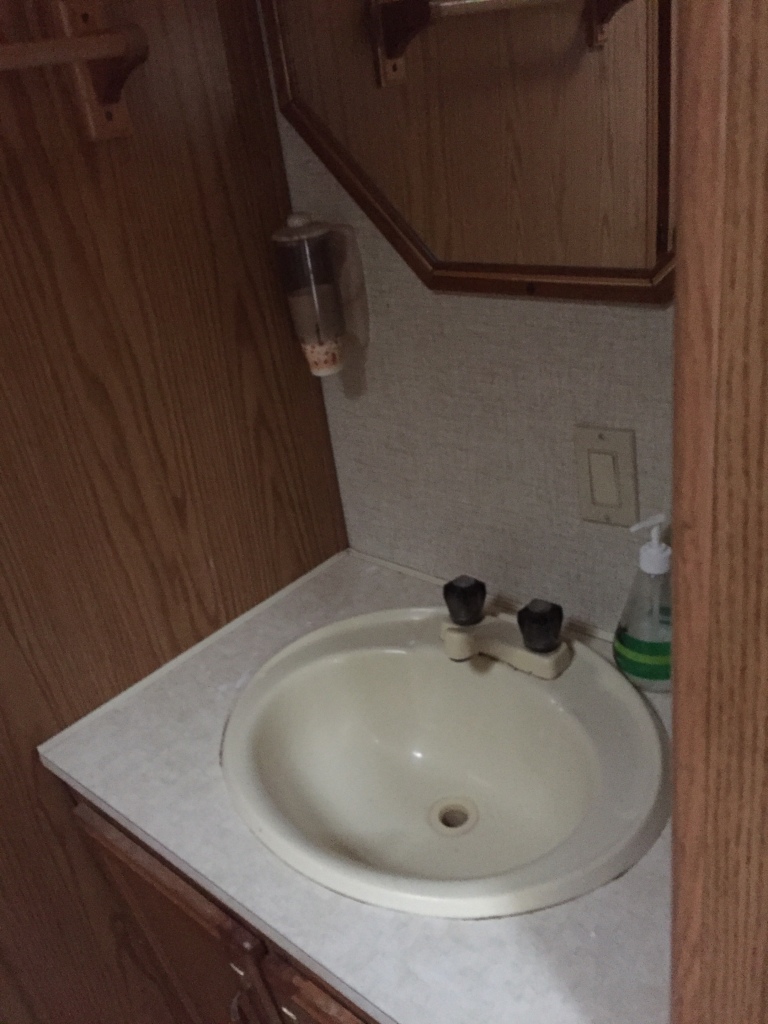
1. No pop-outs so it felt very small and dark inside.
2. Overcoming years of stains, water damage, pet odors, smoke odors, and who knows what else…it was well used and well loved!
3. How to bring its outdated style up-to-date and more my style? And how do I accomplish this on a budget??
4. I am doing the work myself. How do I make this more efficient?
5. How to properly prep your surfaces and the area for painting.
So, let’s discuss issue #1: No pop outs so it feels very small inside. The original colors inside were dark. There were also finishes I really did not like. Everything felt small and closed-in so I weighed my options carefully. Light colors typically open up a space and give the illusion of it being larger than it is. I settled on an overall color scheme of white, black accents, silver/chrome accents, grey tones, and chartreuse accents.
If you are unsure of a color scheme, jump on Pinterest and take a look at some renovations and colors used. You will surely find something to match your tastes!


Issue # 2: Overcoming years of stains, water damage, pet odors, smoke odors, and who knows what else…it was well used and well loved! I knew I needed a heavy duty primer and one that could handle the variety of surfaces in need of paint. I settled on Kilz Multi-Surface Sealer and Stainblocker. It not only was able to cover the odors but eventually, the stains, too. It took 4 coats with my paint sprayer, and additional coats by hand in the hard to cover spots.

Trust me, taking the time to really get a good base and covering the stains now will payoff when you are ready to paint. Do not skip this step!
After the primer, it only took 2 coats of a Satin finish white paint. I used a high quality paint to ensure I would not need to apply a bunch of coats. I chose a Satin finish because I wanted to be able to wipe it clean but I didn’t want light bouncing off of all of my surfaces, like I would have with a Semi Gloss or High Gloss finish.
Issue #3: How to bring its outdated style up-to-date and more my style? And how do I accomplish this on a budget?? To begin, I looked for ideas and inspiration on Pinterest, YouTube, and online. It is amazing the resources online if you take the time to research them. I started by building an idea board on Pinterest. If you follow me on Pinterest, it is my RV Renovation board. Sure, there were things I didn’t use but it got my creative juices flowing. I am not sure of your creative process but once I dive in and get inspired, I can put the vision together in my mind. Then, all that is left is to just go and do it!

To stay on budget, I did the work myself, recruited my husband on a few things, but overall, it was very fulfilling and fun to bring something from a “before” to an “after”.
Another budget tip, use what you already have (if possible). For example, I had a small tile job planned for the renovation and had grout leftover from a previous project. I also had a fun project planned for some accents and lots of spray paint in my paint collection already in the garage. Since your RV projects are typically small in scale, you may be able to use what you have on hand.
Another budget tip, shop and compare pricing on-line. You can still shop local stores, if you want, and compare pricing easily. I found some great stuff on Amazon, Etsy, Home Depot’s site, Menard’s site, Walmart.com, among others. I had nearly all my supplies delivered to my front door. The rest was curbside pickup! So easy!
Issue #4: I am doing the work myself. How do I make this more efficient? Tip #1- invest in a paint sprayer! This will cut down on time and effort. Best money I spent on this phase of the renovation. I highly recommend selecting one that isn’t too heavy for you, one that you won’t have to refill every five minutes, and something easy to clean.

The paint sprayer also made priming and painting the ceilings a breeze. If you have ever refinished or painted ceilings before in a home improvement project, you know how hard this is and how sore you are from running a roller overhead. Talk about finding muscles you didn’t know you had…right???
Issue #5: How to properly prep your surfaces and the area for painting. First, the surfaces have to be clean of dirt, debris, grease, cobwebs, dust bunnies, etc.! Begin by vacuuming everything! Then wipe down every surface to be painted with TSP or a TSP substitute, like the one I used. (See picture below) It deep cleans the surfaces and pulls years of dirt and grime off of surfaces.

Take the time to properly cover and tape off surfaces you do not want painted. As much as I covered, I still discovered spots I overlooked. Oops!
Take the time now to address any issues like peeling wallpaper, filling gaps, cracks, holes, nail holes, etc. You do not want to go back after a nice paint job only to correct issues.
And as a precaution, for glossy or very shiny surfaces, give them a light sanding or try this cool product. Liquid Sandpaper works as a deglosser and I recommend trying it on the surfaces first. Sometimes, this is enough and you can skip the sandpaper altogether. Wipe them down again with a microfiber cloth to remove any dust so nothing is left on the surfaces.

One final tip before I wrap up. Do not forget to remove the painter’s tape soon after finishing your paint project. If it has already dried, score the edge of the tape before removing to avoid pulling paint with the tape.
The picture below is as close as we will come today to the unveiling of Carole’s total transformation…stay tuned! I promise you, we are just getting started!! Up next, we will tackle refinishing RV counters and tabletops- without the expense of replacing. It is VERY cool and a fun, unexpected surprise!!!

