RV Renovation-Part 3: How to refinish RV countertops & tabletops without replacing them

Welcome to Part 3 of my renovation of the “Carole” (remember, the name of our RV??)! Today, I will cover refinishing countertops & tabletops without the expense of replacing.

When building my idea boards, I found so many fun and functional ideas out there, mostly requiring replacement. Thumbs up to all of you following this path! I, however, challenged myself to stick to a budget. This meant no room for replacement. So, let’s jump in!!

As you may recall, my RV renovation color scheme is white, black accents, gray tones, natural wood accents, silver/chrome, and chartreuse accents. So, when weighing my options and skill set, paint and tile were my personal go-to’s. (Your talents may be with other materials and/or options.)

With white walls, white ceilings, planned white backsplash, textured white accents, I needed to offset and anchor some of this white with black. So, black was the color of choice for my countertops and tabletops…except one extra special project we will cover last (nightstands in the master bedroom!!).

I knew I didn’t want a perfectly smooth countertop or tabletop surface because over time, there were some nicks, cuts, and other imperfections on their surfaces. This could have been a bad thing but I figured why not just roll with it.

I am not sure if you have ever worked with chalkboard paint before but it has uses beyond just a cool writing surface for a stick of white chalk. (I actually have an entire wall of my office painted with chalkboard paint and magnetic paint-very cool!) Did you know, when you apply multiple layers of chalkboard paint, it begins to give you a textured “imperfect” surface that looks very much like soapstone. Are you loving this yet?? I applied about 4 coats with a combination of a small roller and a foam application brush yielding a perfect textured surface.

Countertops “before”
In progress countertops

Just a quick side note. I have used the countertop paint and countertop paint refinishing kits in the past successfully. It just wasn’t the look I was going for here. Simply a matter of personal taste but the other choices do work well…if you are wondering.

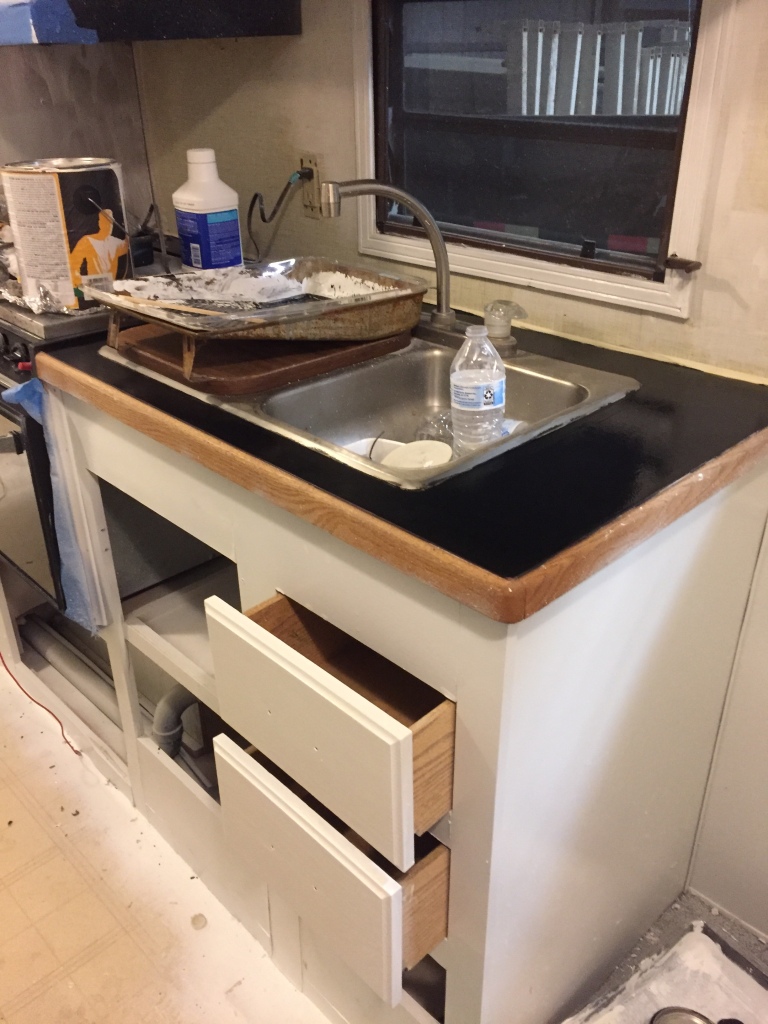
Now for the top coat/sealant, you have plenty of options. Waxes, polyurethane, epoxy, to name a few. Since my countertops and tabletops were for food prep and consumption, I went with a durable polyurethane that was safe for food surfaces. I went with a Satin finish for easy clean up but I think a lower sheen would have really sold the soapstone look! I applied about 6-8 coats with a foam brush applicator on the countertops and a foam roller on the tabletops.

Tip: apply thin layers and allow to completely dry between coats to avoid bubbles in your finish.

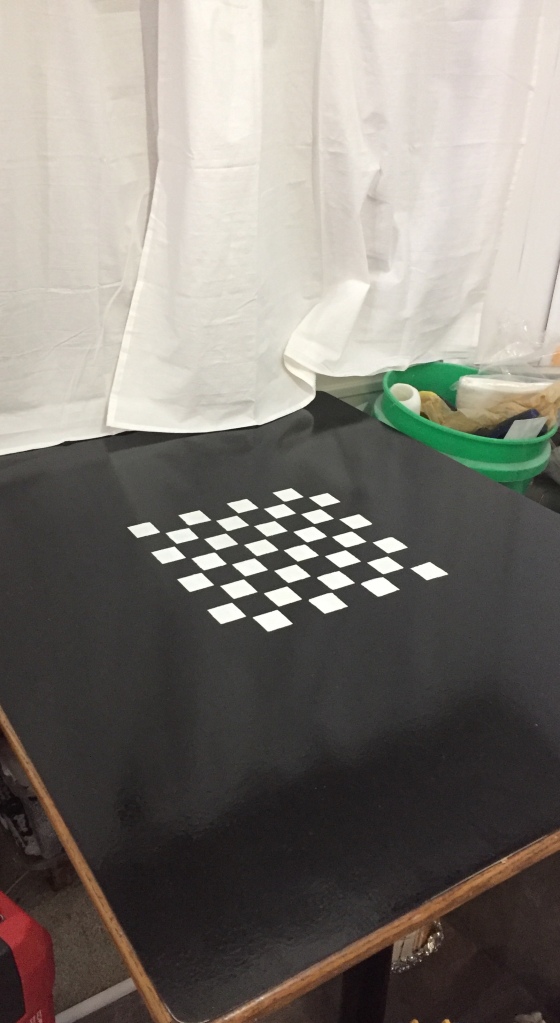
HOWEVER, before I sealed the tabletops, I added an extra surprise. I love chess. In fact, I have managed to get my boys and my husband hooked on it. It was only natural I add a chess board to my tabletops, right??

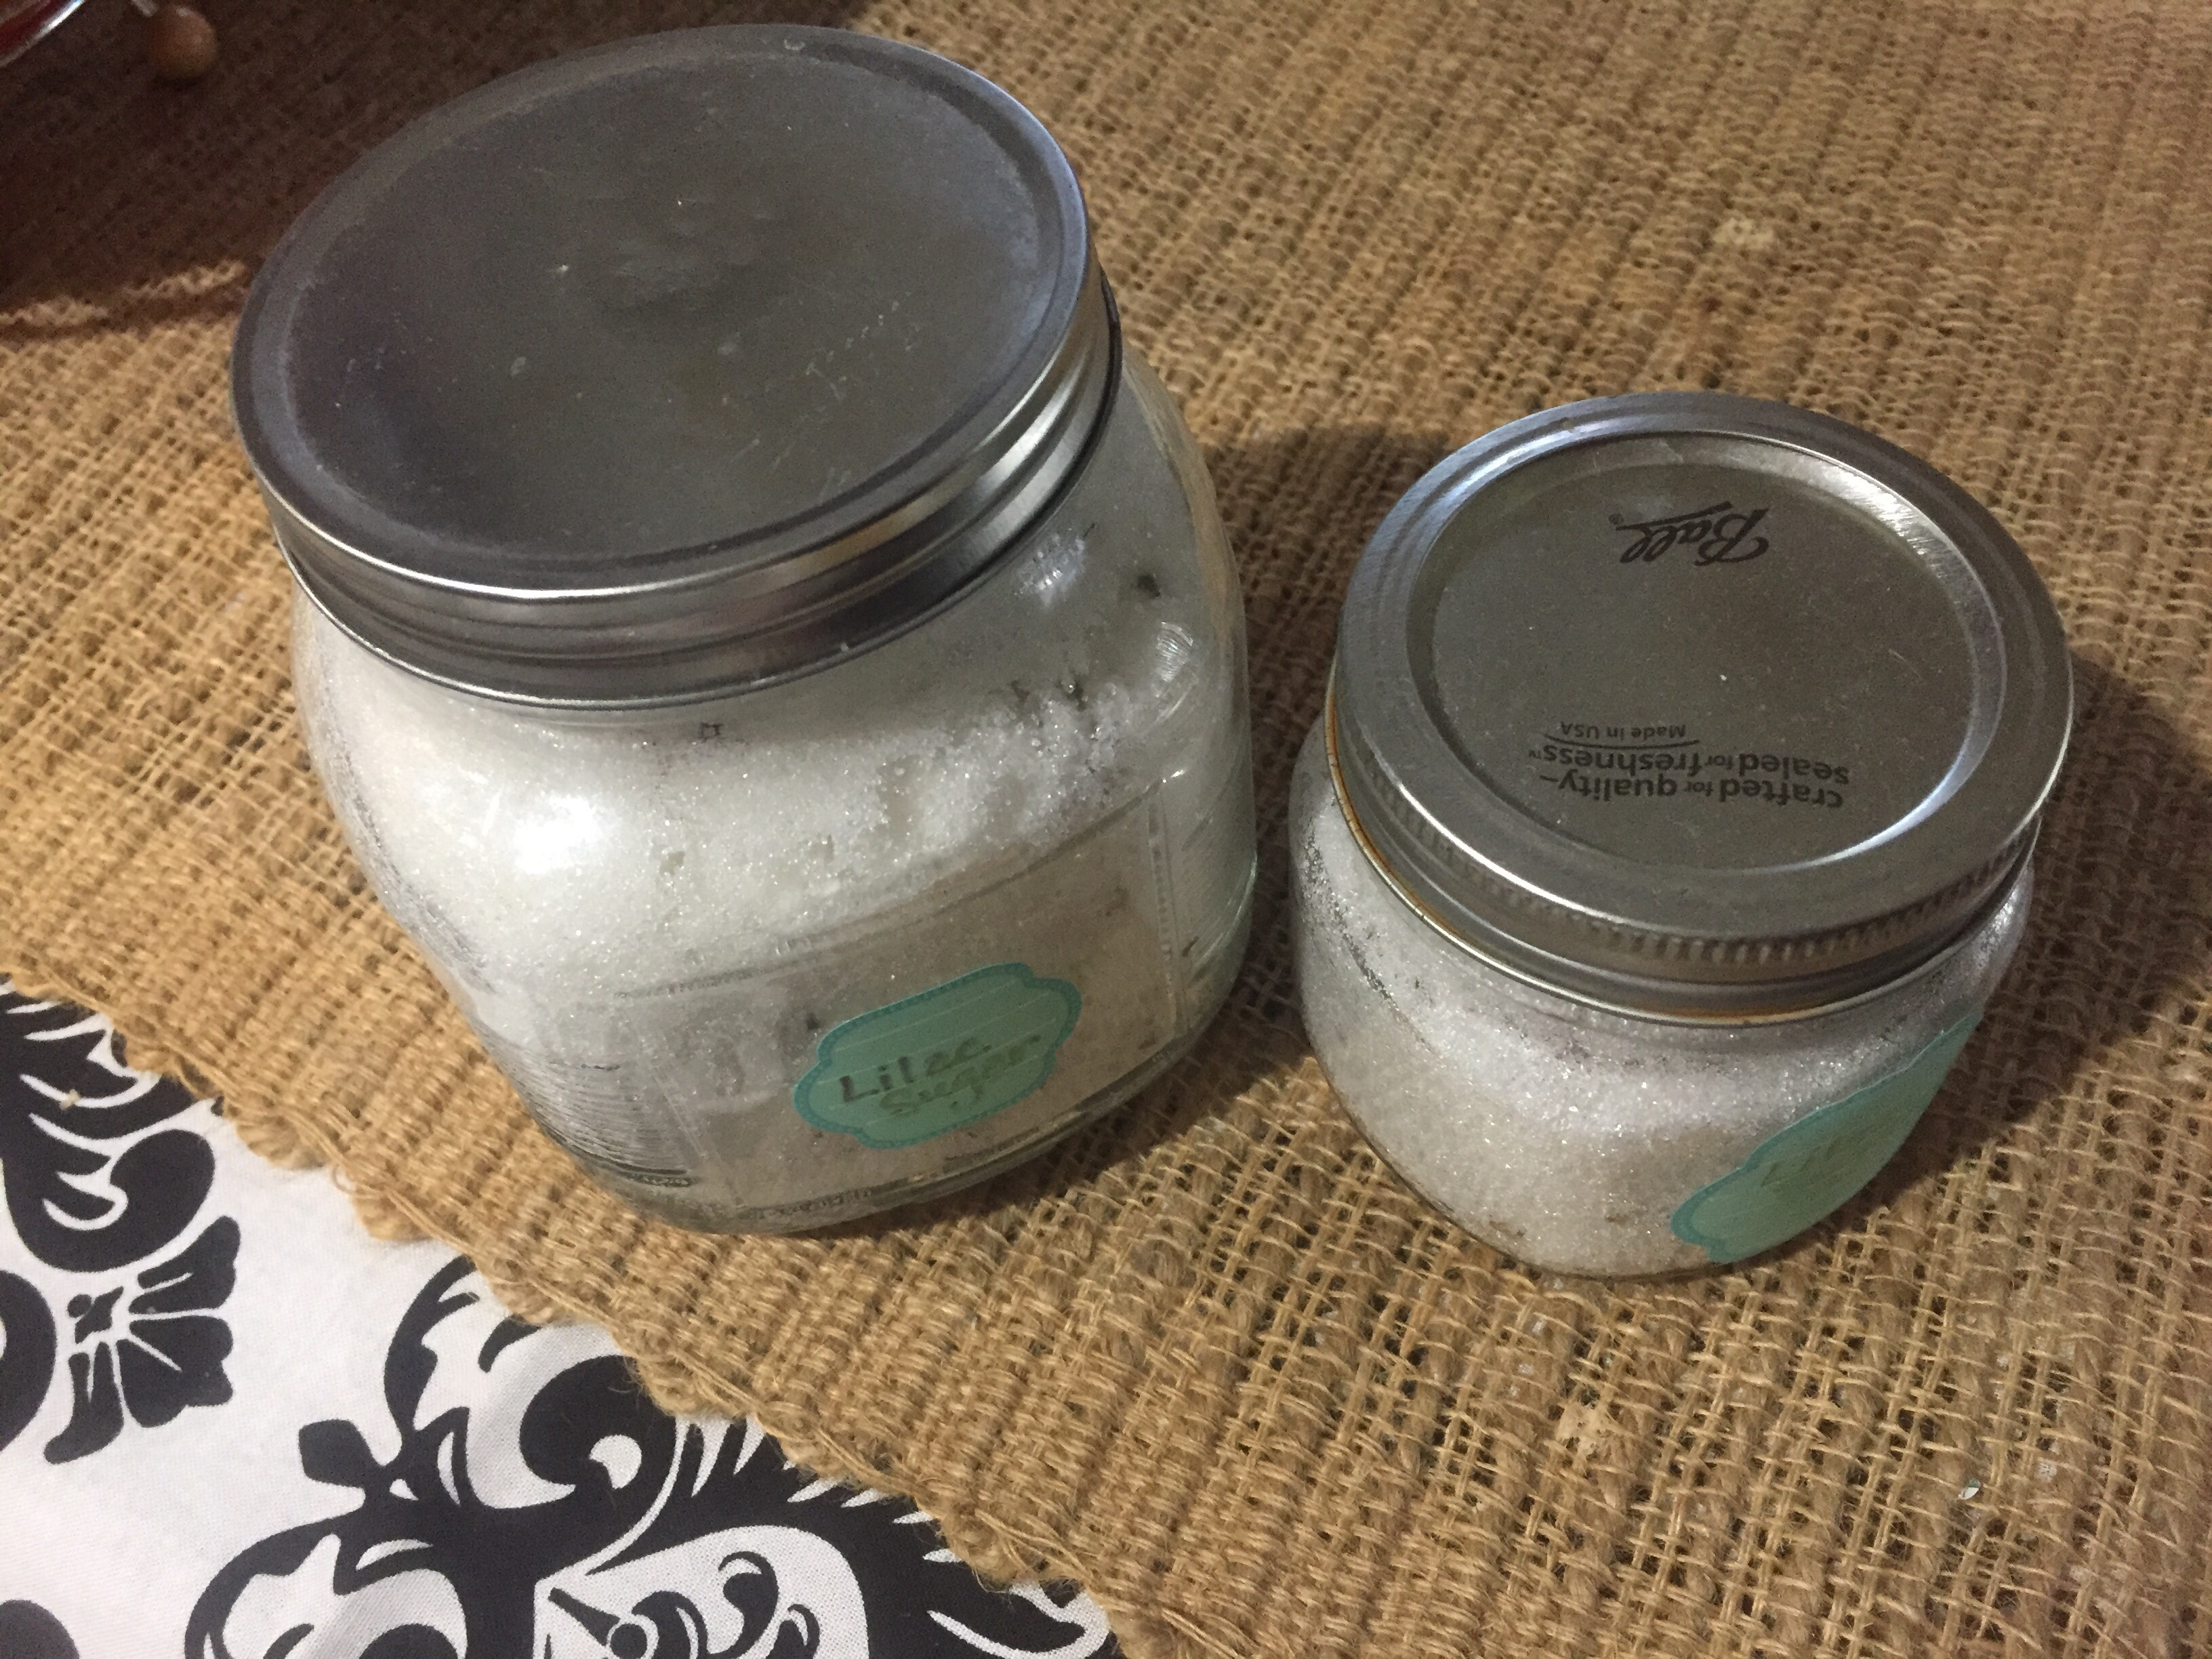
After exhaustive searching, I could not find a vinyl chess board to “peel & stick” to the surface. I did finally find a stencil at Walmart. I purchased a 1 oz chalk paint in white for the stenciling. Since chalk paint covers so well, it only needed one coat of paint for full coverage. After adequate dry time, I sealed the tabletops with the foam roller and about 6-8 coats of polyurethane. Here is the end result!

Tabletops “before”

Notice the wood edges of my countertops and tabletops? To refinish them, I gently sanded them, wiped them down with a microfiber cloth to remove all dust and debris, then applied new gel stain in dark walnut. Finally, I sealed them with a couple coats of polyurethane.


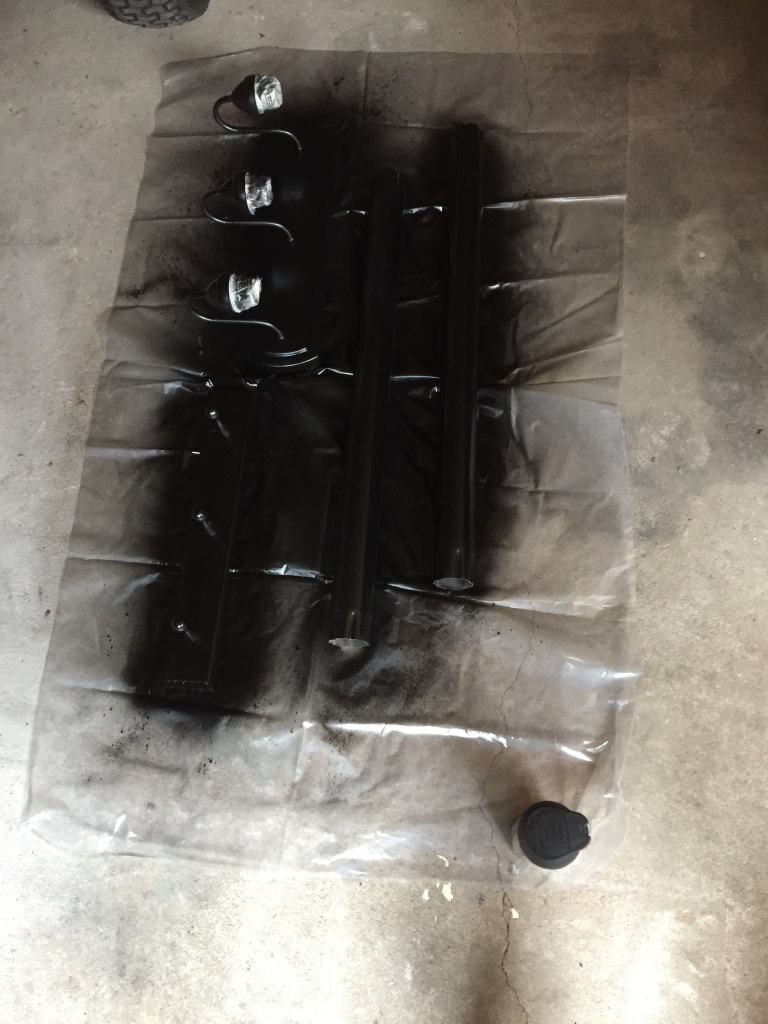
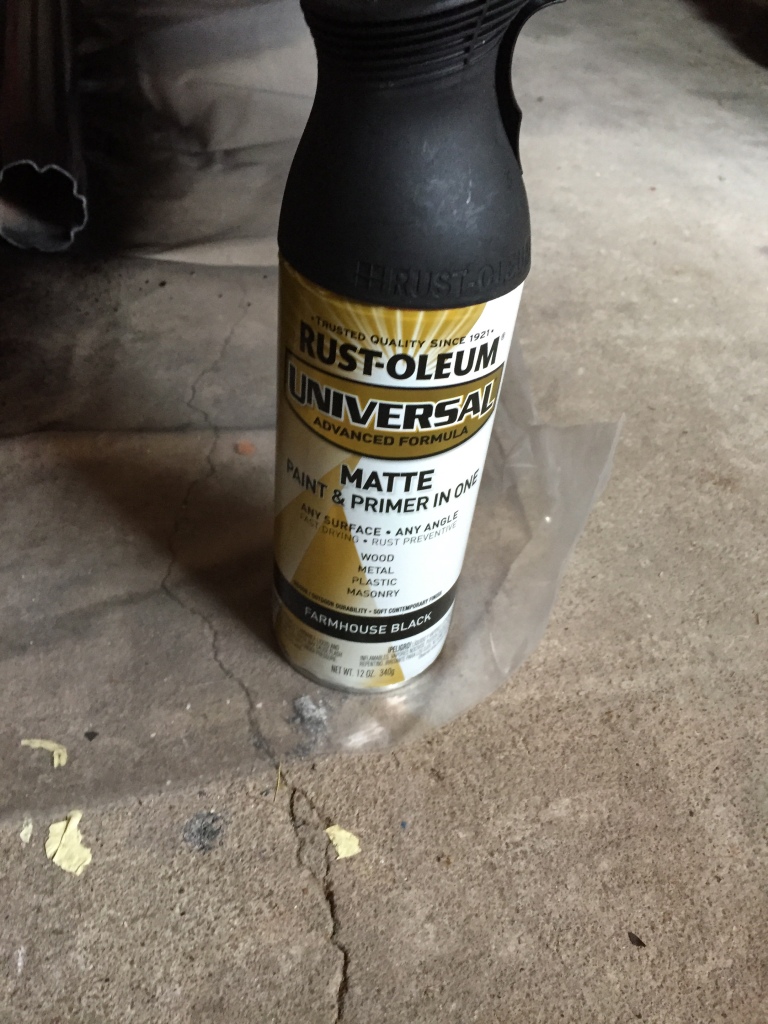
I haven’t mentioned the table legs but they were also refinished. They started out a brass color with some rusty and sticky spots. After washing them and coating them with Liquid Sandpaper, I applied multiple light coats of a Farmhouse Black spray paint by Rustoleum. It is a matte black finish that really ties into the color scheme.

A quick tip, I really should have sealed these with my matte sealer-also a spray paint application. I already have some scratches I will need to address once the weather warms up enough to paint.

Pictured are the table legs, wooden peg hangers, and bathroom light getting a Farmhouse Black makeover.
Farmhouse Black

A couple of bonus projects while we are discussing paint…I had some of the chalkboard paint leftover so I painted a couple of message boards on the inside panels of the kitchen cabinets. I love how these turned out and it’s a cute personal touch!

Note: I did sand down the “oops” white paint seen in the photo. Worked nicely to clean it all up.

Cabinet door message boards- chalkboard paint (no sealant)

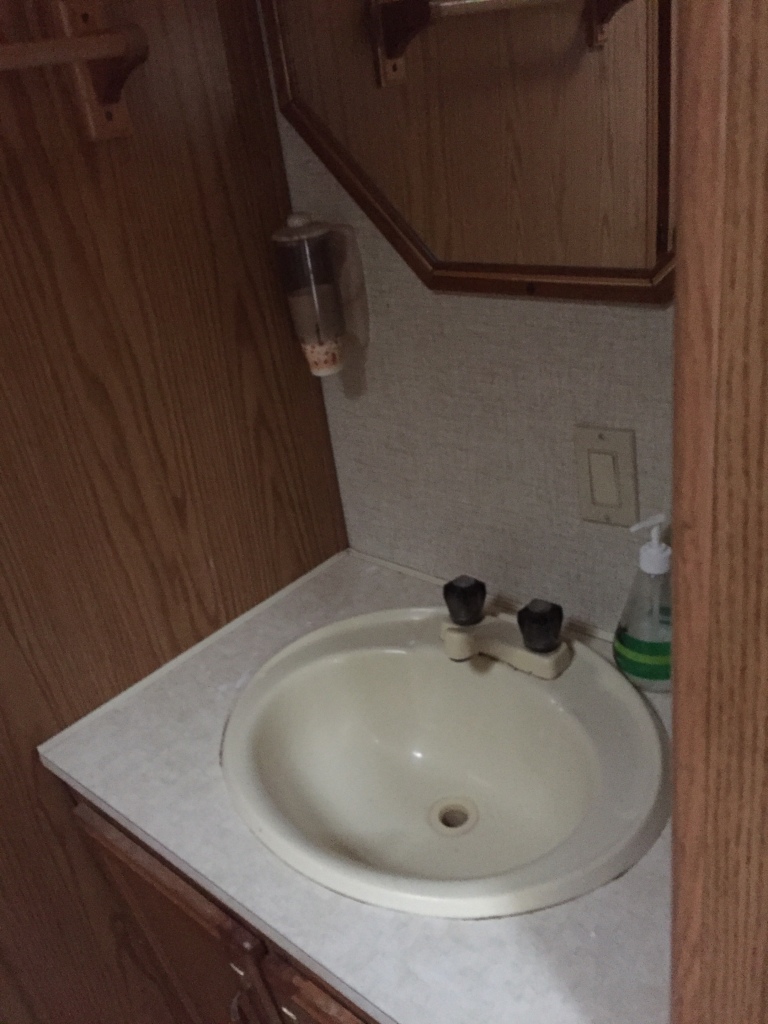
I also refinished the bathroom mirror with the chalkboard paint for a whole new look! Check it out…

Bathroom mirror “before”
Bathroom mirror “after” – refinished with chalkboard paint (no sealant)

Remember that tile project I mentioned earlier? The bedroom nightstands? Well, here is the story.

After priming and painting, the past water damage was still very obvious. Keep in mind, RV’s are full of alternative materials to wood, typically, to save on cost and weight. The surfaces of these nightstands were no exception. The pressed fiberboard material had expanded on the back half due to old water damage leaving an unsightly bubbled surface once painted. Not to mention, the odds of a glass of water ending up there was pretty high, only creating more water damage and rings in the painted surfaces. (I am pretty sure I am the only person that actually uses the coasters in my household.)

I had run across the most beautiful mother-of-pearl mini tiles on Amazon and was itching for the chance to use them somewhere. Enter the nightstands! Remember that leftover white grout I mentioned in an earlier post? Well it was perfect for this tile job! I even had a little tile leftover that makes a cameo somewhere else in the RV! (Nope, not revealing it today…)

Nightstands with white mother of pearl tiles, white grout

That is all for today. Next up, we will tackle RV flooring replacement. See you soon!

RV Makeover – How to Paint the Interior of an RV

I will begin my second posting of the Carole renovation by diving into the ins and outs of painting the interior of our RV. When I set out to plan this project, I wasn’t even sure it was possible given the multiple surfaces inside an RV, the fact it is mobile, subject to temperature extremes, humidity, the very high traffic of the space, etc.

The challenges our RV faced specifically were:

1. No pop-outs so it felt very small and dark inside.

2. Overcoming years of stains, water damage, pet odors, smoke odors, and who knows what else…it was well used and well loved!

3. How to bring its outdated style up-to-date and more my style? And how do I accomplish this on a budget??

4. I am doing the work myself. How do I make this more efficient?

5. How to properly prep your surfaces and the area for painting.

So, let’s discuss issue #1: No pop outs so it feels very small inside. The original colors inside were dark. There were also finishes I really did not like. Everything felt small and closed-in so I weighed my options carefully. Light colors typically open up a space and give the illusion of it being larger than it is. I settled on an overall color scheme of white, black accents, silver/chrome accents, grey tones, and chartreuse accents.

If you are unsure of a color scheme, jump on Pinterest and take a look at some renovations and colors used. You will surely find something to match your tastes!

Carole before photo – living room looking into the bedroom
Carole before photo- the bunkhouse
Carole before photo – bathroom
Carole before photo – kitchen

Issue # 2: Overcoming years of stains, water damage, pet odors, smoke odors, and who knows what else…it was well used and well loved! I knew I needed a heavy duty primer and one that could handle the variety of surfaces in need of paint. I settled on Kilz Multi-Surface Sealer and Stainblocker. It not only was able to cover the odors but eventually, the stains, too. It took 4 coats with my paint sprayer, and additional coats by hand in the hard to cover spots.

Trust me, taking the time to really get a good base and covering the stains now will payoff when you are ready to paint. Do not skip this step!

After the primer, it only took 2 coats of a Satin finish white paint. I used a high quality paint to ensure I would not need to apply a bunch of coats. I chose a Satin finish because I wanted to be able to wipe it clean but I didn’t want light bouncing off of all of my surfaces, like I would have with a Semi Gloss or High Gloss finish.

Issue #3: How to bring its outdated style up-to-date and more my style? And how do I accomplish this on a budget?? To begin, I looked for ideas and inspiration on Pinterest, YouTube, and online. It is amazing the resources online if you take the time to research them. I started by building an idea board on Pinterest. If you follow me on Pinterest, it is my RV Renovation board. Sure, there were things I didn’t use but it got my creative juices flowing. I am not sure of your creative process but once I dive in and get inspired, I can put the vision together in my mind. Then, all that is left is to just go and do it!

I wish I knew who to credit for this photo but it is on my Pinterest board. This photo really pushed my creative thinking into the direction I chose for Carole’s Renovation. (I REALLY wanted to rip out our booth and install a similar bar seating area but we had some structural restraints).

To stay on budget, I did the work myself, recruited my husband on a few things, but overall, it was very fulfilling and fun to bring something from a “before” to an “after”.

Another budget tip, use what you already have (if possible). For example, I had a small tile job planned for the renovation and had grout leftover from a previous project. I also had a fun project planned for some accents and lots of spray paint in my paint collection already in the garage. Since your RV projects are typically small in scale, you may be able to use what you have on hand.

Another budget tip, shop and compare pricing on-line. You can still shop local stores, if you want, and compare pricing easily. I found some great stuff on Amazon, Etsy, Home Depot’s site, Menard’s site, Walmart.com, among others. I had nearly all my supplies delivered to my front door. The rest was curbside pickup! So easy!

Issue #4: I am doing the work myself. How do I make this more efficient? Tip #1- invest in a paint sprayer! This will cut down on time and effort. Best money I spent on this phase of the renovation. I highly recommend selecting one that isn’t too heavy for you, one that you won’t have to refill every five minutes, and something easy to clean.

I cut in with a brush in some of the tight corners prior to spraying. This helps with even coverage later.

The paint sprayer also made priming and painting the ceilings a breeze. If you have ever refinished or painted ceilings before in a home improvement project, you know how hard this is and how sore you are from running a roller overhead. Talk about finding muscles you didn’t know you had…right???

Issue #5: How to properly prep your surfaces and the area for painting. First, the surfaces have to be clean of dirt, debris, grease, cobwebs, dust bunnies, etc.! Begin by vacuuming everything! Then wipe down every surface to be painted with TSP or a TSP substitute, like the one I used. (See picture below) It deep cleans the surfaces and pulls years of dirt and grime off of surfaces.

Take the time to properly cover and tape off surfaces you do not want painted. As much as I covered, I still discovered spots I overlooked. Oops!

Take the time now to address any issues like peeling wallpaper, filling gaps, cracks, holes, nail holes, etc. You do not want to go back after a nice paint job only to correct issues.

And as a precaution, for glossy or very shiny surfaces, give them a light sanding or try this cool product. Liquid Sandpaper works as a deglosser and I recommend trying it on the surfaces first. Sometimes, this is enough and you can skip the sandpaper altogether. Wipe them down again with a microfiber cloth to remove any dust so nothing is left on the surfaces.


One final tip before I wrap up. Do not forget to remove the painter’s tape soon after finishing your paint project. If it has already dried, score the edge of the tape before removing to avoid pulling paint with the tape.

The picture below is as close as we will come today to the unveiling of Carole’s total transformation…stay tuned! I promise you, we are just getting started!! Up next, we will tackle refinishing RV counters and tabletops- without the expense of replacing. It is VERY cool and a fun, unexpected surprise!!!

Here is a photo taken during the painting process. All cabinet doors were laid on the bed platform and floors for priming and painting. As you can see, the insides of the cabinets received coats of primer, too.

New Year…Begin The Cleansing!!!

I am not entirely sure if it is out of sheer habit that January 1 somehow triggers a response in me to do a Deep Cleansing in all areas of my life but it’s happening.

I have already noted I am one week into a two week cleanse (check my earlier blog postings on what this is all about!!), cleansing my surroundings by organizing, purging, and cleaning, cleansing my life priorities and goals, reorganized my resume and online profiles, etc., etc., etc.!!

Just curious what everyone else out there has been cleansing in their own lives since January 1…

Be Well, everyone.

RV Makeover- Old & Outdated to Glamper & Fabulous!


So, it has begun. Our journey with the RV. At first, we considered purchasing the “perfect” RV with all the bells and whistles. Then, we saw the price tag and thought there must be another way. Not to mention in this strange COVID year, inventories were very low!

Enter “Plan B”. We decided to purchase a used RV and just fix it up instead. This is where our story truly begins. Our “Plan B”…

My Mother-In-Law and Father-In-Law decided it was time for an upgrade so we offered to buy their old RV. After “she” rolled up that day, I said to the family, every great vessel is named. Let’s think up a great name. Given this was inspired by our strange COVID year, we all agreed to name her “Carole” after a documentary we binge-watched with the rest of America (admit it, you loved it). Not naming the series but she is now known as “The Carole”. It’s official, she is roadworthy and has an awesome name!

Meet Carole!

As you can see, we decided to do the renovations inside a building. This made the process much easier. More postings soon to reveal her transformation. It is dramatic!

2-Week Challenge Update

2-Week Challenge Update

Day 3 of my 2-Week Challenge. I am happy to begin today’s post with, results are starting to become noticeable. I read through my previous posts and realized I neglected to share the guide to follow for the challenge.


Today, I blended my psyllium husks, or Metamucil, with a V8 juice blend. I had chilled the juice ahead of time and simply stirred in the 2 T. of Metamucil. Simple and delicious. I chased this with a large glass of ice water.

I will be getting into more adventurous recipes as the challenge progresses. Stay tuned!


Day 2: 2-Week Challenge

Day 2: 2-Week Challenge

Hi folks! I am reporting to you on Day 2 of my 2-Week Challenge. As I mentioned on an earlier post, I have started a “clean up” of my eating habits (again) since it seems I have allowed some junk into my diet. So, I opted for psyllium husks as my clean up tool, along with improved diet. I am using a name brand version, Metamucil, but there are plenty of choices out there. Pick the one you like best and run with it.

Orange Juice

Today’s Metamucil drink recipe was plain ol’ orange juice with 1 1/2 T. of Metamucil. I prefer to pour the chilled juice in the glass first then add the Metamucil powder second. It prevents clumping. Then stir vigorously until well blended. And bottoms up!

I should mention I am currently glamping at a lake house so I cannot use my more adventurous drink recipes yet. More fun recipes to come during my challenge…


Tip: Do not let the drink sit for too long. The psyllium husks will begin to expand inside your beverage and it will become too thick.


Overall Results: No results yet but I can say I feel a little bloated, I suppose. I will just keep drinking water and hope for the best. More on tomorrow‘s post.


I Am Taking The 2 Week Challenge!

I Am Taking 2 Week Challenge…Follow My Journey


My eating habits haven’t exactly been the best lately and my poor gut is punishing me with bloating, indigestion, pain & discomfort. So, it is time to hit the reset button and clean out the toxins and “gunk” weighing me down.

Psyllium husks are a great tool for cleaning things up. Imagine sending a high powered vacuum cleaner through your insides to remove all that bad stuff making you feel weighed down, sluggish, and bloated. There are various options to do this cleanse but I plan to use a name brand product, Metamucil.

I will be exploring different recipes through my 2 week challenge. Some will be simple recipes and others more involved and complex. Join me as I chronicle my progress!


Souvenir Girls & Guys

Poll Question: Souvenirs from the Significant Other (or Admired Other)


  • Poll Question: Have you ever taken a “souvenir” to remember a significant other?


  • Poll question 2: Have you ever taken a“souvenir” from someone you flirted with or admired for the moment (at a party)?


Thank you for joining our poll! This is part of a larger conversation with my husband, my teenagers and young adult son. 🙂Happy Friday!!


Natural Ant Spray- Essential Oils

DIY Natural Ant Spray- Essential Oils


Don’t you just love this time of year? The flowers are in bloom, the trees providing shade from the afternoon sun, warm sunshine, ants invading your house…okay, so the last one is really just a giant nuisance but what’s a girl to do??? Those little ants seem to come in overnight and by the hundreds!

First things first, check your home’s maintenance. It is always a good idea to properly seal up your house every year. Checking the caulking around windows, doors, any wires or pipes entering the structure, and at seams. Check your weatherstripping and the sweeps under your doors. This is a best practice to keep many pests out of your home as well as prevent energy loss from heating and cooling escaping from gaps in your home.

Finally, trim any vegetation or tree limbs in contact with your home’s exterior. These only encourage pests to enter your home!

Okay, so you did the maintenance and you still have ants bugging you (yea, I couldn’t resist)? I personally do not like spraying a bunch of smelly pest sprays inside my home. First, if you read the warning labels, you need to pay attention to the appropriate application and safety precautions. I have, and no thank you!

So, where does that leave me? A green alternative. Most things in nature have a natural deterrent or predator to keep them away. For ants, there are certain scents they do not care for and avoid, such as orange, lemon, clove, cinnamon bark, peppermint, and spearmint. Additionally, the essential oils will confuse the ants attempting to follow the trail left behind by their predecessors.

Mint

My Recipe:


  • 30 drops of peppermint essential oil
  • 50 drops of orange oil
  • distilled water
  • Clean spray bottle

Step 1: Combine the essential oils into spray bottle.

Step 2: Add distilled water to the essential oils, leaving some room at the top of the bottle.

Step 3: Close lid and give it a good shake. Label your bottle with a pretty label or a sharpie marker. (Always label your spray bottles!)

Step 4: I use a spray stream. Spray the ants directly when you see them. Try to find their point of entry and spray it. The oils will help mask the entry point into your home.

Step 5: You can spray this on the outside if you identified the entry point. Spray the ants every time you see them. It takes a couple days but they will die and stop entering your home! Not to mention it is completely safe and smells amazing!!!


Lilac Infused Sugar

DIY Infused Sugar: How to Create Your Own Lilac Sugar


Capturing the flavors and fragrances of spring and summer is something we all want to tackle. Imagine capturing the heavenly scent from your lilac bushes, lavender, roses, honeysuckle, or some of the fragrant and earthy scents from your herb garden. Yes, it is possible!

There are many ways to accomplish this but we will discuss infusion here today. You are truly only limited by your creativity and ingredients, so roll up your sleeves and let’s get started!

You can infuse everything from water, oils, butters, salts, sugars, to non-edibles like bath salts, bath oils, lotions, and salves. This is by no means a complete list of infusion options. Remember what I mentioned earlier, …limited only by your creativity and ingredients. Yes, well, it’s true! At my wedding reception I passed out infused bath salts to my guests in a variety of relaxing and stimulating scents.

For today’s project, we are going to infuse sugar with the heavenly scent of lilacs. I had a lilac tree outside of my office window for years. My favorite time of year was when it was in bloom, flooding my office with fragrance of springtime! I will use the infused sugar in everything from hot and iced teas, topping baked goods like cookies, scones, muffins, and cakes, just to name a few. I can dream up more uses, just give me some time and my kitchen!

My son’s house has loads of lilac bushes, in purple, lavender, bright pink, and white blooms. I went with the standard purple lilac for this project. I took cuttings of the blooms early in the day when the flowers had their strongest fragrance.

In a large bowl, I carefully pulled the blooms from the woody stems and dropped them into the large bowl filled with water. This step will remove any foreign pieces and hidden insects or spiders. I drained the water and rinsed the blooms once more in a colander.

I know these are not lilacs but I wanted to illustrate how the individual flowers are removed from the stems. You will do this for the project.

After rinsing, I laid out paper towels across a large table to allow them to dry quickly. I prepared my mason jars and lids for the sugar. I used just plain white sugar but feel free to experiment.

I started by filling a layer of blooms in the bottom of each jar, then followed by a layer of sugar. Repeat with another layer of blooms, then sugar, and so on until each jar has been filled. Give each jar a gentle shake to ensure you haven’t overfilled them, since you will need to give them a good shake every few days or so.

Another great jar option

I do not leave my jars near direct sunlight. I simply put them in the pantry and every few days, give each one a good shake. The goal is to continue mixing the blooms and the sugar over the next few weeks as the sugars are infused with the flavors and aroma of the lilac flowers.

The blooms will wilt over time but they should appear dry in the sugar-never moldy or have mildew. This is important. You do not want to eat that. Once you notice the blooms have dried, remove one of the lids so you can smell for results. You should have a nice lilac fragrance. If so, you are ready.

You have the choice now to leave the blooms intact inside the sugar, sift the sugar to remove the flowers, or simply add it to a small blender, like my NutriBullet, to grind the sugar and blooms together. Take care not to mix too much or you may end up with a powdered sugar.

Once you have the finished product you want, add it back to your jar and seal your lid tightly. I keep a small jar on hand near my hot teas, and a larger one with my baking supplies.